Service Manual (KLZ1000C) — page 154 of 762
Cooling System › Pressure Testing
Text on this page
4-8 COOLING SYSTEM
Coolant
Coolant Deterioration Inspection
• Remove     the right inner middle fairing (see Inner Middle
  Fairing Removal(15-15)).
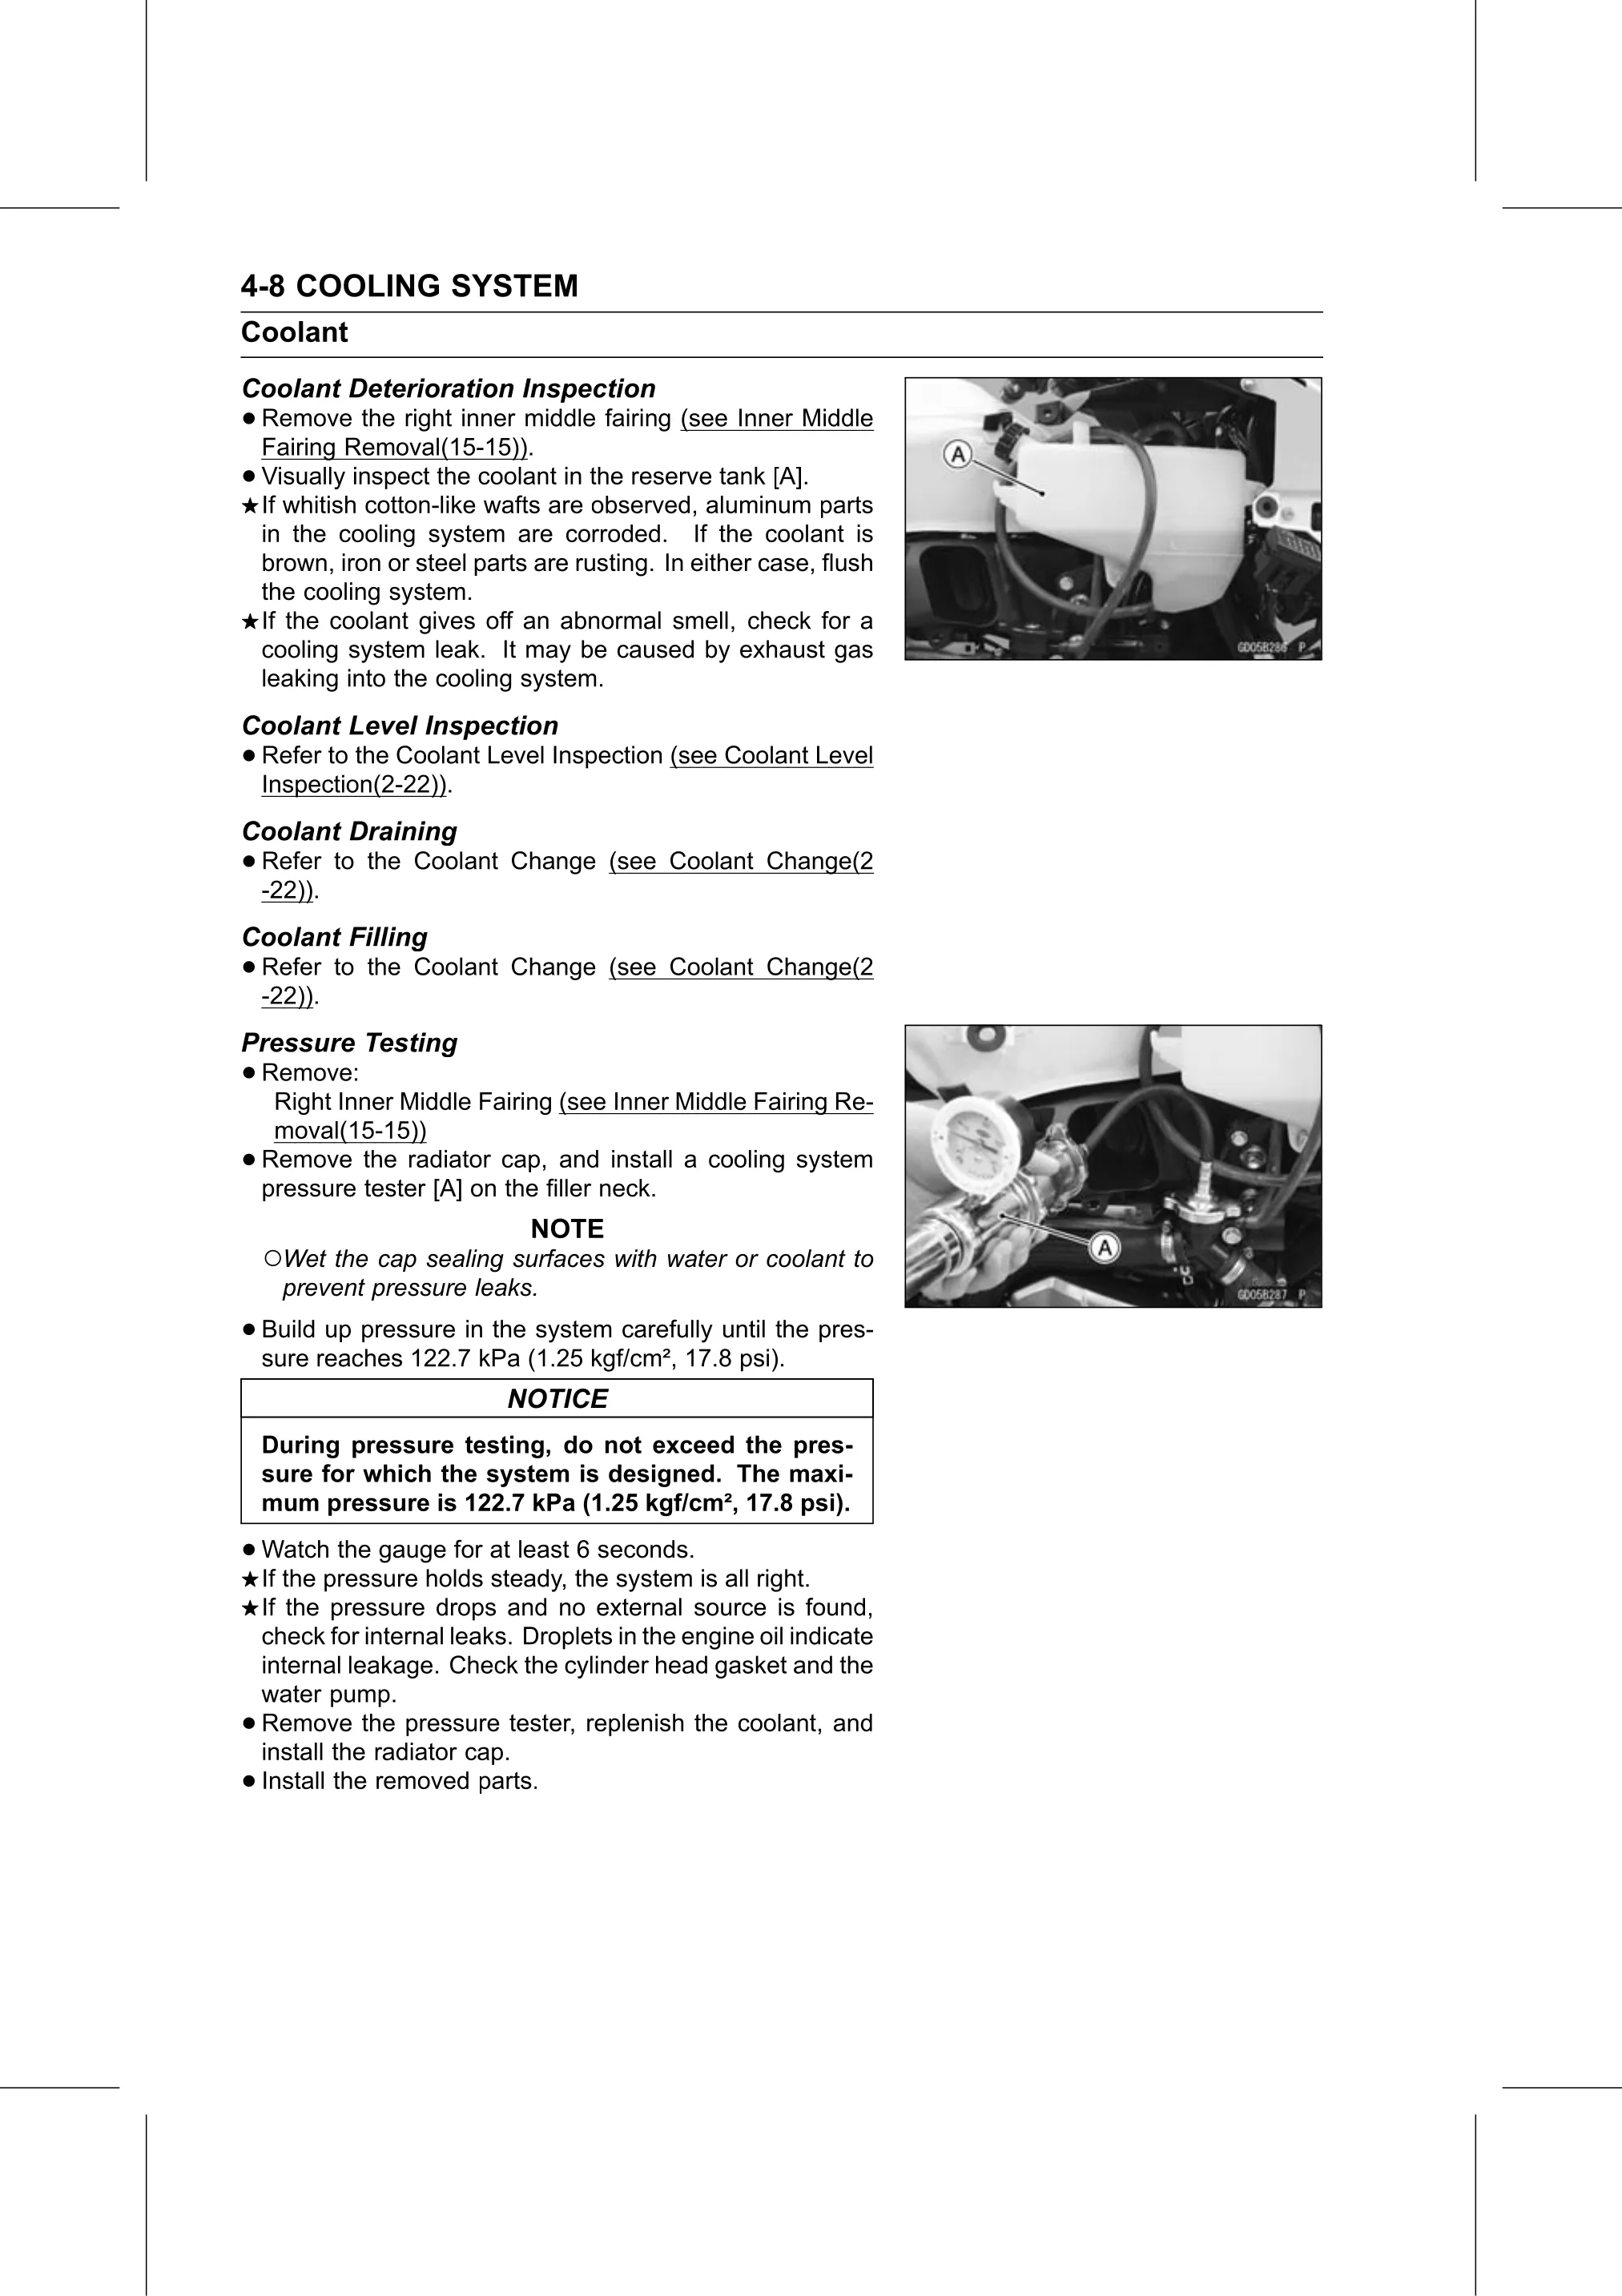
• Visually  inspect the coolant in the reserve tank [A].
  If whitish cotton-like wafts are observed, aluminum parts
    in the cooling system are corroded. If the coolant is
    brown, iron or steel parts are rusting. In either case, flush
    the cooling system.
    If the coolant gives off an abnormal smell, check for a
    cooling system leak. It may be caused by exhaust gas
    leaking into the cooling system.
Coolant Level Inspection
• Refer to the Coolant Level Inspection (see Coolant Level
  Inspection(2-22)).
Coolant Draining
• Refer
  -22)).
         to the Coolant Change (see Coolant Change(2

Coolant Filling
• Refer
  -22)).
         to the Coolant Change (see Coolant Change(2

Pressure Testing
• Remove:
   Right Inner Middle Fairing (see Inner Middle Fairing Re-
     moval(15-15))
•   Remove the radiator cap, and install a cooling system
    pressure tester [A] on the filler neck.
                              NOTE
    ○Wet the cap sealing surfaces with water or coolant to
      prevent pressure leaks.

• Build up pressure in the system carefully until the pres-
  sure reaches 122.7 kPa (1.25 kgf/cm², 17.8 psi).
                            NOTICE
    During pressure testing, do not exceed the pres-
    sure for which the system is designed. The maxi-
    mum pressure is 122.7 kPa (1.25 kgf/cm², 17.8 psi).

• Watch   the gauge for at least 6 seconds.
  If the pressure holds steady, the system is all right.
    If the pressure drops and no external source is found,
    check for internal leaks. Droplets in the engine oil indicate
    internal leakage. Check the cylinder head gasket and the
    water pump.
•   Remove the pressure tester, replenish the coolant, and
    install the radiator cap.
•   Install the removed parts.