Service Manual (KLZ1000C) — page 186 of 762
Engine Top End › Camshaft Chain Tensioner Installation
Text on this page
5-18 ENGINE TOP END
Camshaft Chain Tensioner
Camshaft Chain Tensioner Removal
                         NOTICE
 This is a non-return type camshaft chain tensioner.
 The push rod does not return to its original position
 once it moves out to take up camshaft chain slack.
 Observe all the rules listed below.
 When removing the tensioner, do not take out the
 mounting bolts only halfway. Retightening the
 mounting bolts from this position could damage
 the tensioner and the camshaft chain. Once the
 bolts are loosened, the tensioner must be removed
 and reset as described in “Camshaft Chain Ten-
 sioner Installation.”
 Do not turn over the crankshaft while the tensioner
 is removed. This could upset the camshaft chain
 timing, and damage the valves.

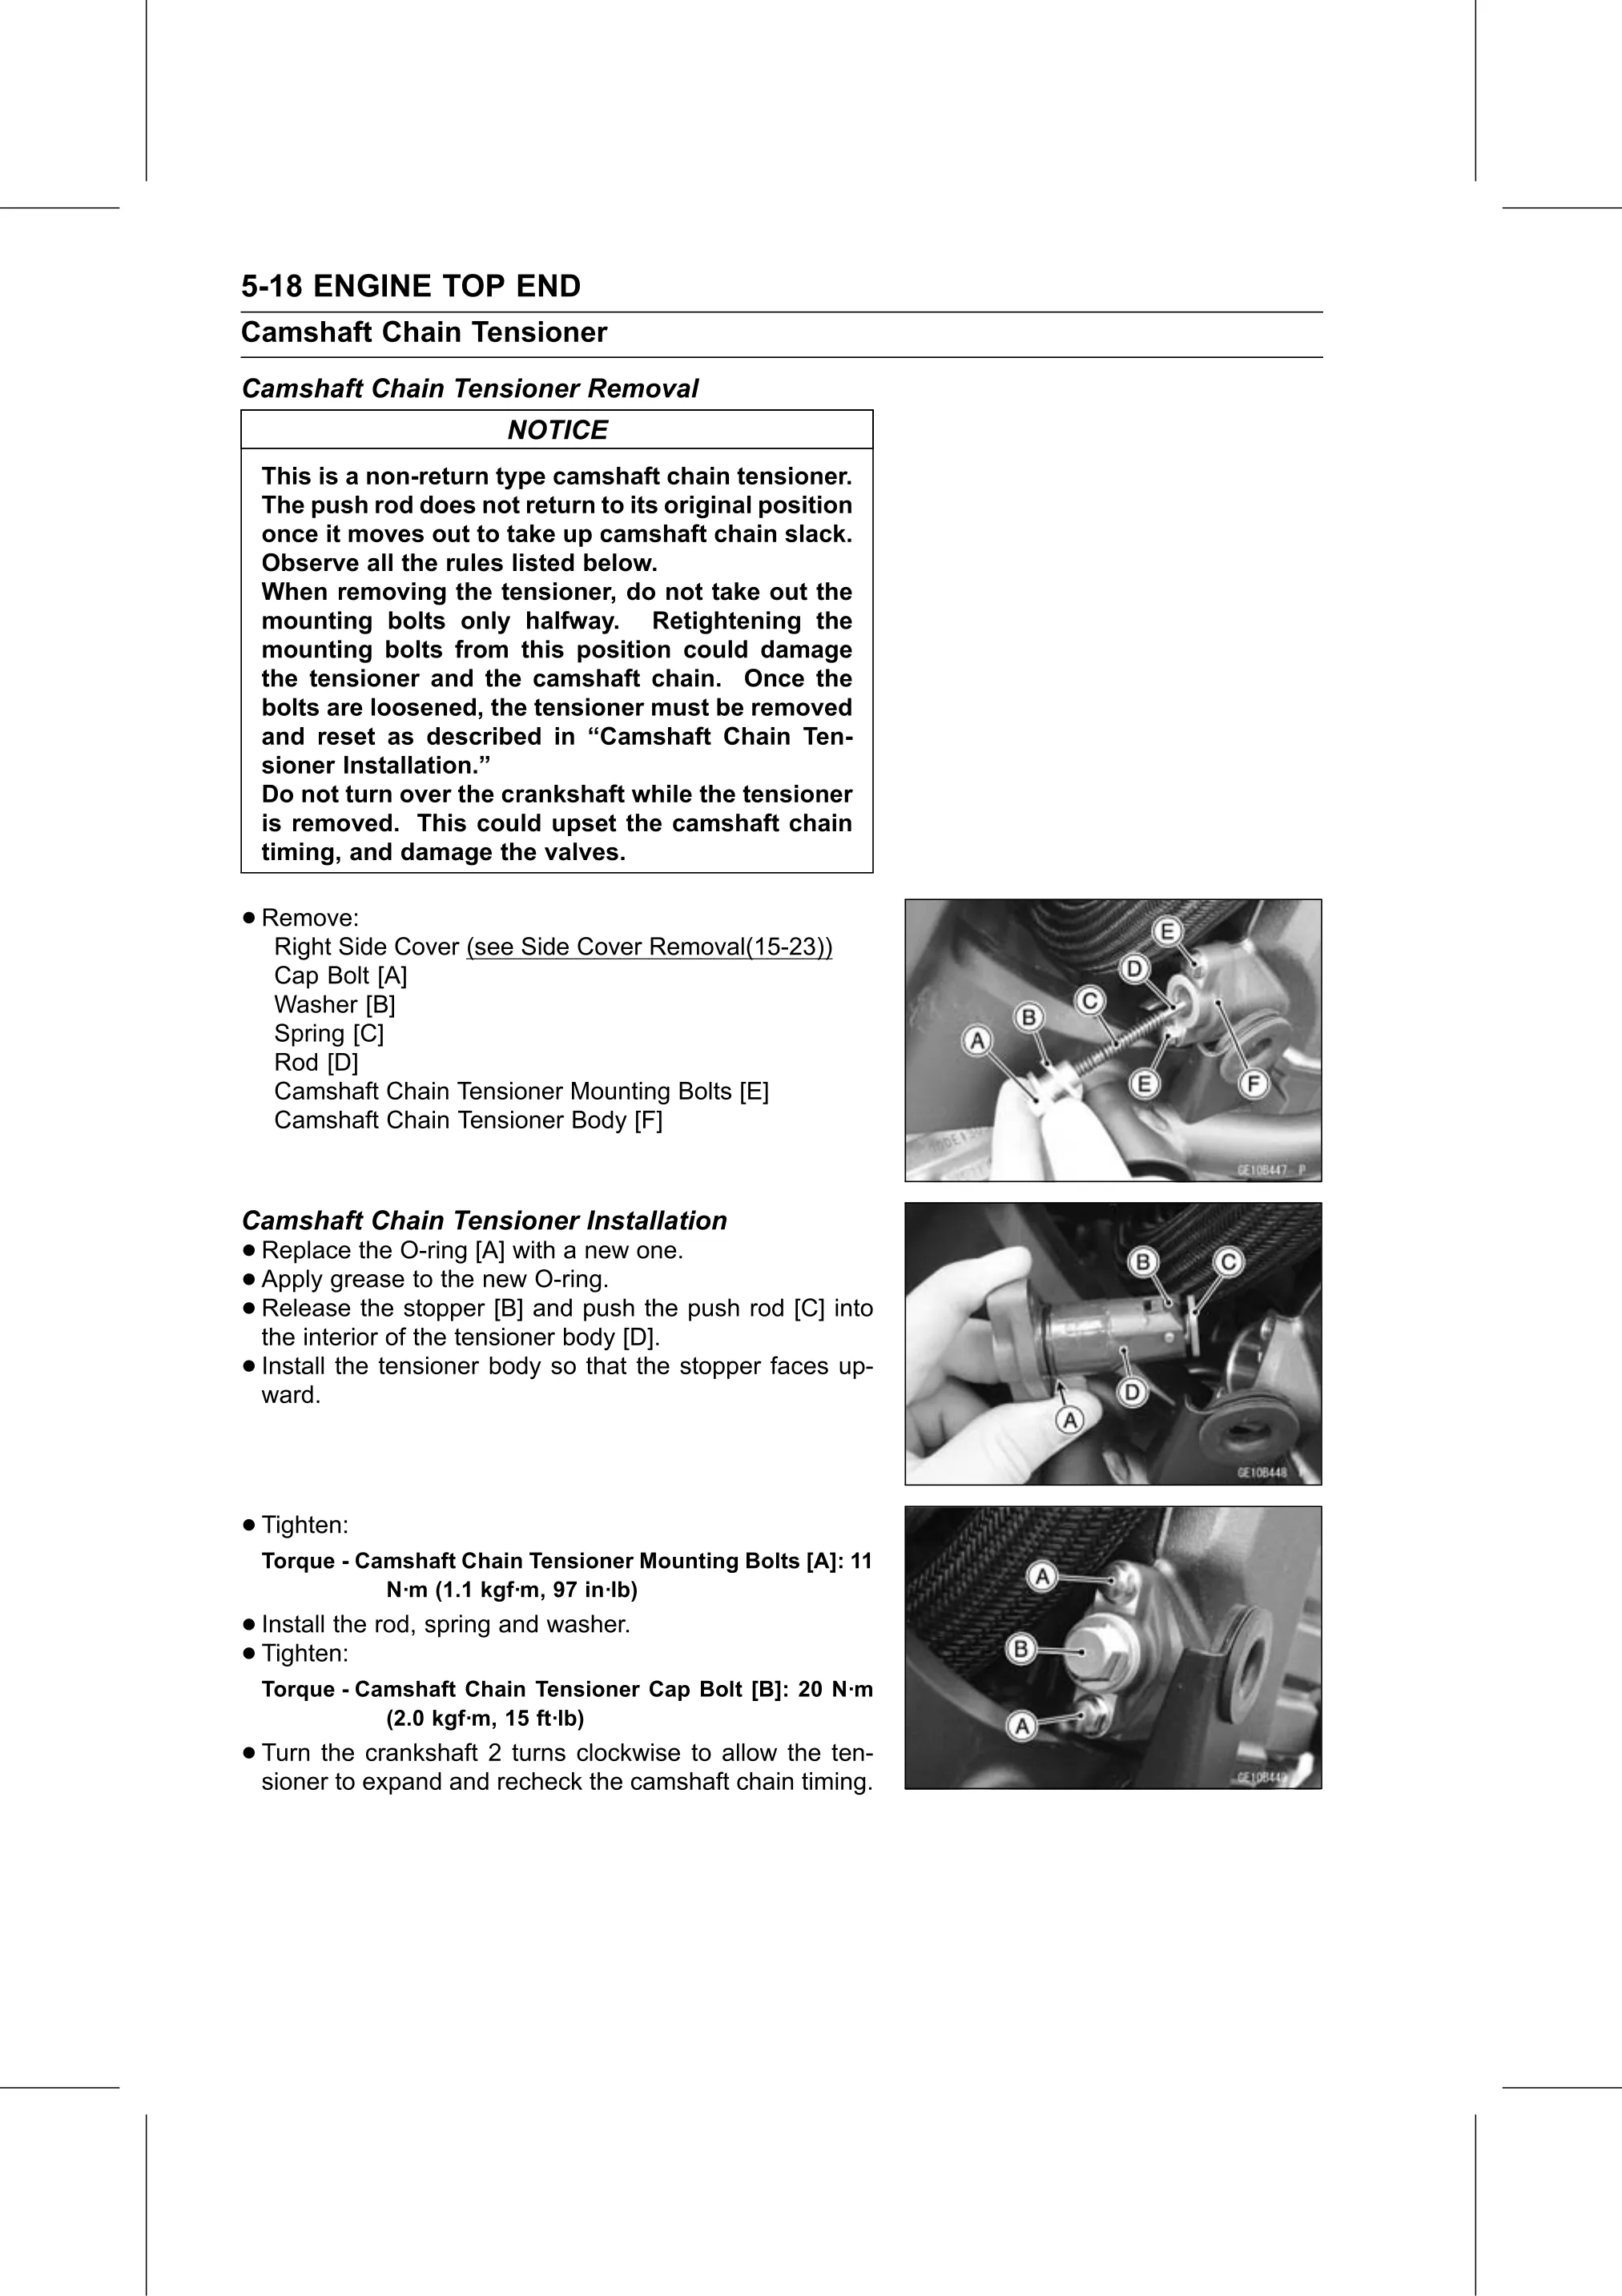
• Remove:
   Right Side Cover (see Side Cover Removal(15-23))
   Cap Bolt [A]
   Washer [B]
   Spring [C]
   Rod [D]
   Camshaft Chain Tensioner Mounting Bolts [E]
   Camshaft Chain Tensioner Body [F]

Camshaft Chain Tensioner Installation
• Replace   the O-ring [A] with a new one.
• Release the stopper
  Apply   grease  to the new O-ring.
• the interior of the tensioner
                          [B] and push the push rod [C] into
                                body [D].
• ward.
  Install the tensioner  body  so that the stopper faces up-

• Tighten:
 Torque - Camshaft Chain Tensioner Mounting Bolts [A]: 11
            N·m (1.1 kgf·m, 97 in·lb)
• Install the rod, spring and washer.
• Tighten:
 Torque - Camshaft Chain Tensioner Cap Bolt [B]: 20 N·m
            (2.0 kgf·m, 15 ft·lb)
• Turn the crankshaft 2 turns clockwise to allow the ten-
  sioner to expand and recheck the camshaft chain timing.