Service Manual (KLZ1000C) — page 361 of 762
Brakes › Rear Master Cylinder Installation
Text on this page
BRAKES 12-21
Master Cylinder

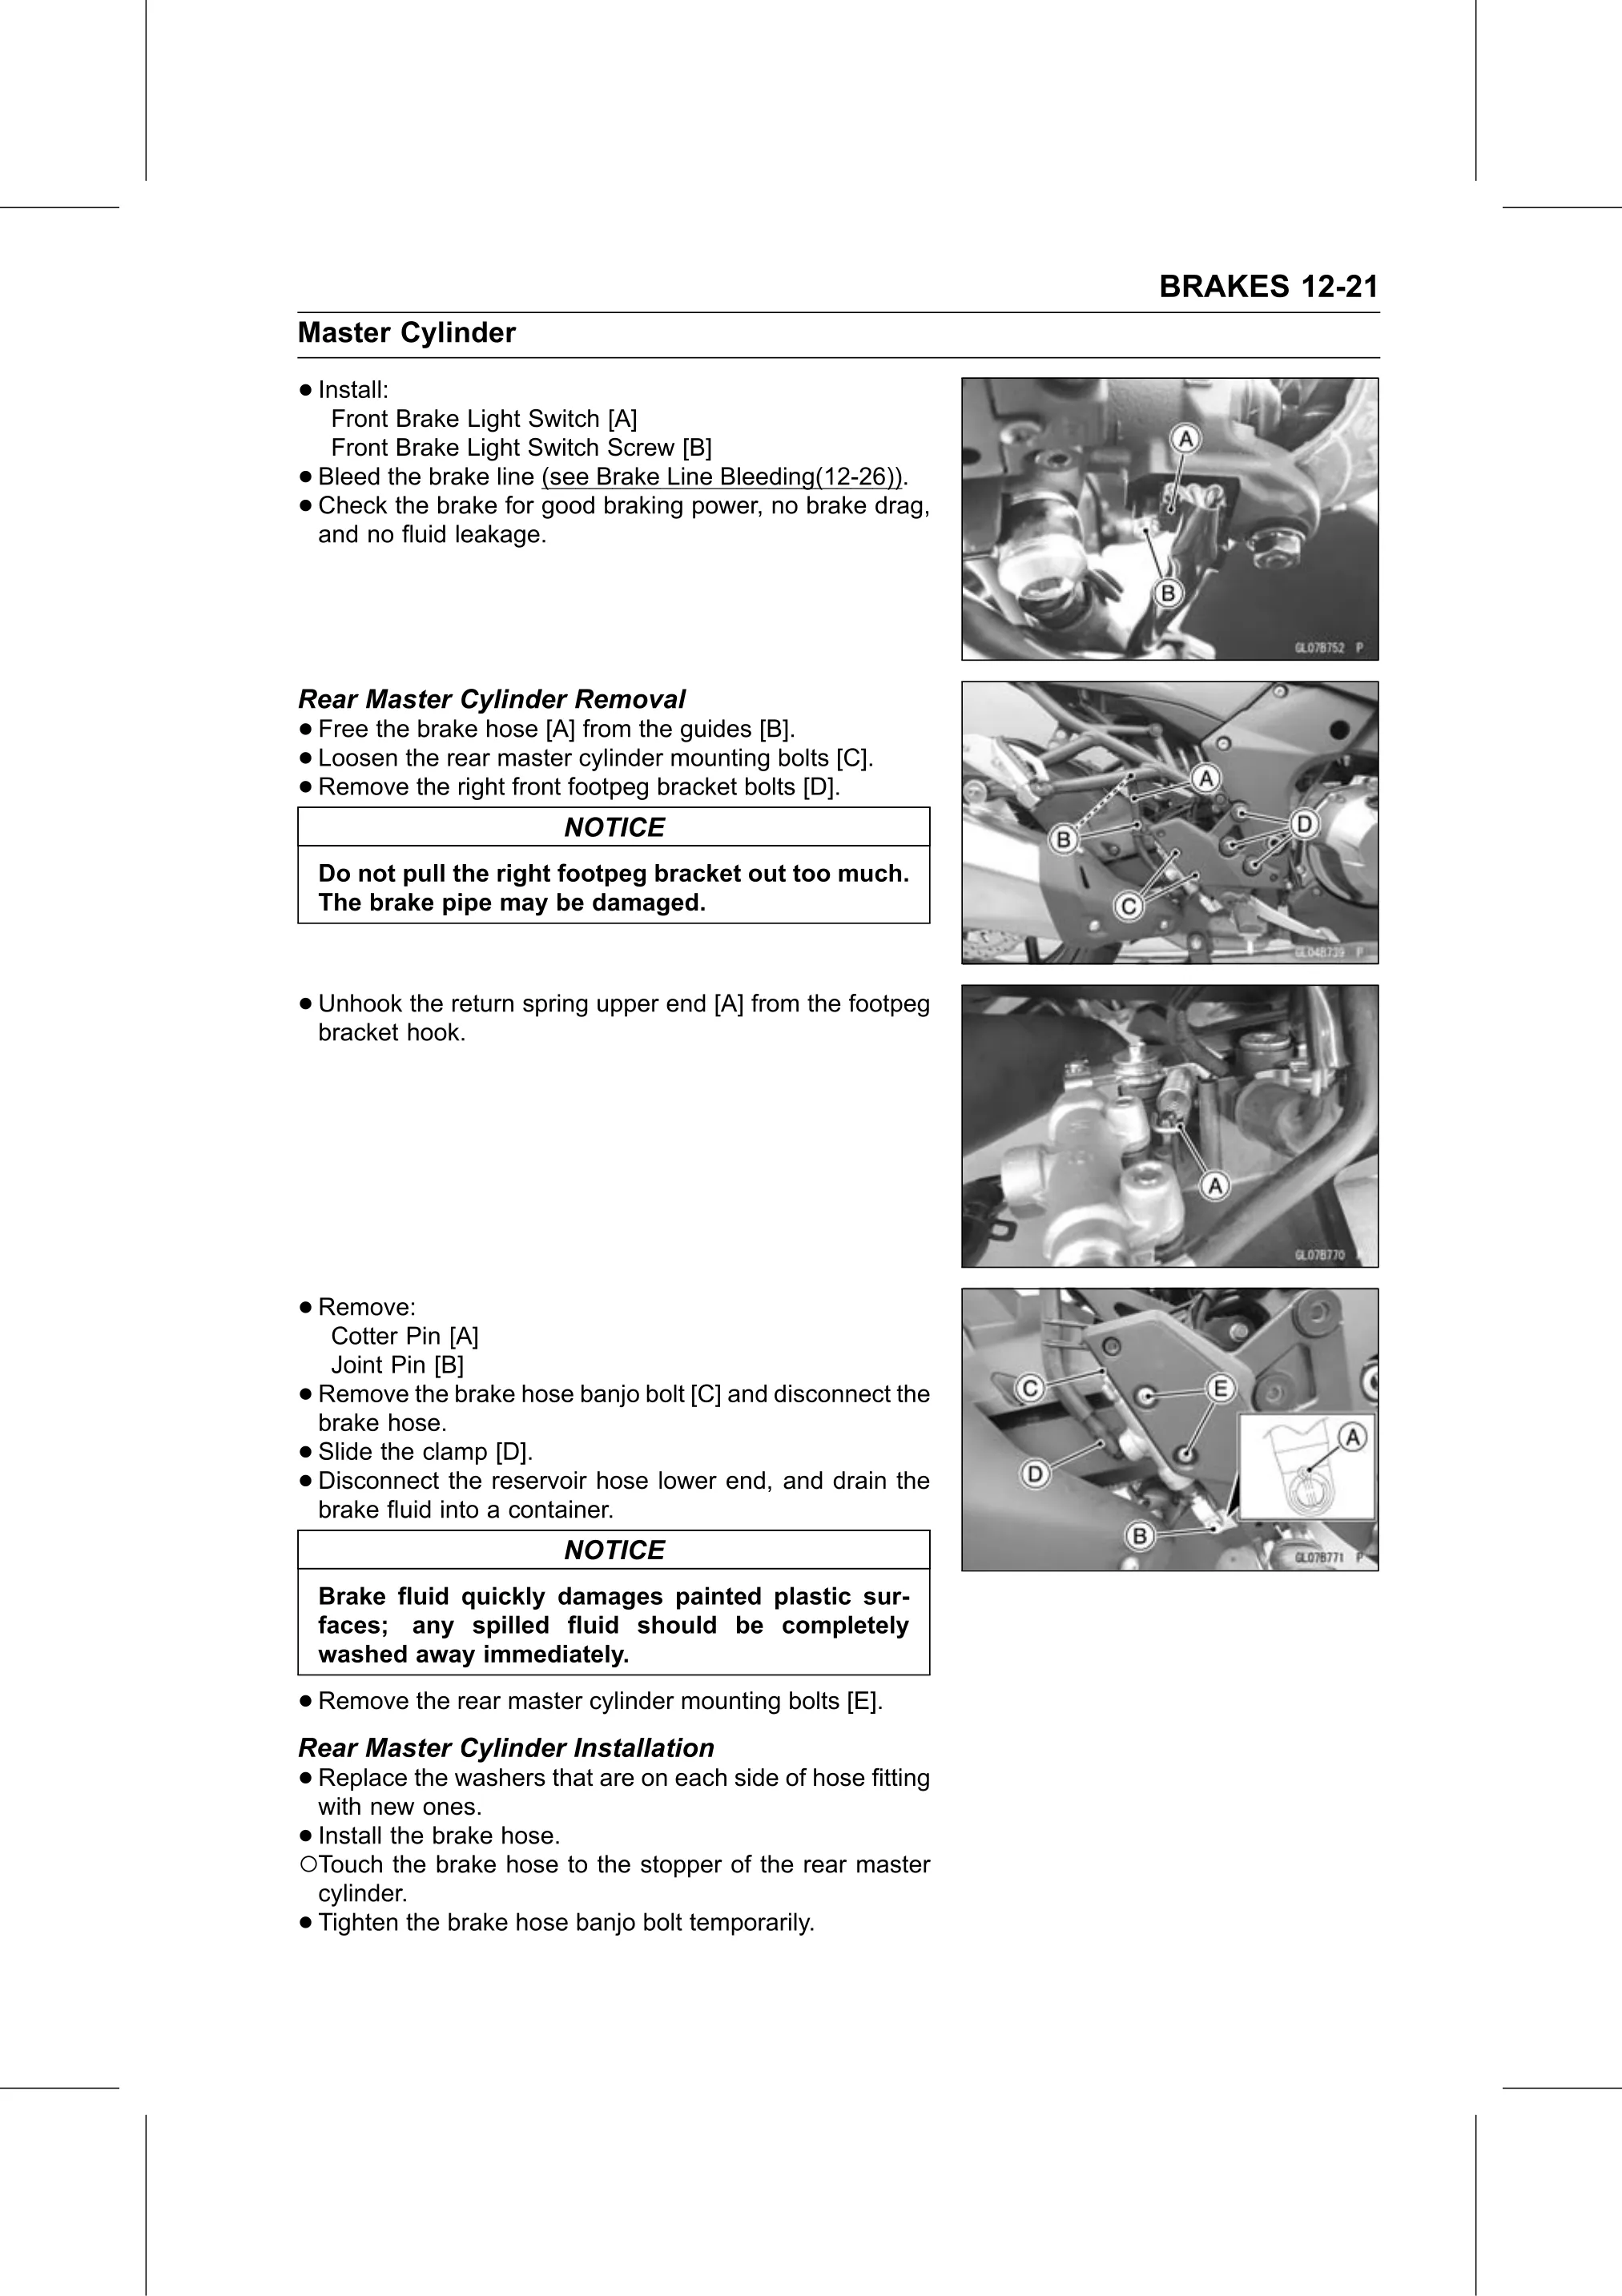
• Install:
   Front Brake Light Switch [A]
     Front Brake Light Switch Screw [B]
•   Bleed the brake line (see Brake Line Bleeding(12-26)).
•   Check the brake for good braking power, no brake drag,
    and no fluid leakage.

Rear Master Cylinder Removal
• Free the brake hose [A] from the guides [B].
• Loosen  the rear master cylinder mounting bolts [C].
• Remove   the right front footpeg bracket bolts [D].
                          NOTICE
    Do not pull the right footpeg bracket out too much.
    The brake pipe may be damaged.

• Unhook  the return spring upper end [A] from the footpeg
  bracket hook.

• Remove:
   Cotter Pin [A]
     Joint Pin [B]
•   Remove the brake hose banjo bolt [C] and disconnect the
    brake hose.
•   Slide the clamp [D].
•   Disconnect the reservoir hose lower end, and drain the
    brake fluid into a container.
                          NOTICE
    Brake fluid quickly damages painted plastic sur-
    faces; any spilled fluid should be completely
    washed away immediately.

• Remove the rear master cylinder mounting bolts [E].
Rear Master Cylinder Installation
• Replace   the washers that are on each side of hose fitting
  with new ones.
•○Install the brake hose.
  Touch the brake hose to the stopper of the rear master
    cylinder.
•   Tighten the brake hose banjo bolt temporarily.