Service Manual — page 224 of 715
Fuel System (DFI) › Fuel Tank and Cap Inspection
Text on this page
3-134 FUEL SYSTEM (DFI)
Fuel Tank

• Insert the fuel hose joint [A] straight onto the fuel outlet
  pipe until the hose joint clicks.
• Push [B] the joint lock [C] until the hose joint clicks.

• Push  and pull [A] the hose joint [B] back and forth more
  than two times, and make sure it is locked does not come
    off.
                             WARNING
    Leaking fuel can cause a fire or explosion resulting
    in serious burns. Make sure the hose joint is in-
    stalled correctly on the delivery pipe.
    If it comes off, reinstall the hose joint.

• Install the right side tab [A] on the fuel tank under the
  meter cover [B] first, and then install the left side tab of
    the fuel tank.
•   Remove the clean cloth.
•   Connect the fuel pump lead connector and battery (–)
    terminal (see Battery Installation in the Electrical System
    chapter).
•   Install the removed parts (see appropriate chapters).

Fuel Tank and Cap Inspection
• Open  the tank cap.
• damage.inspect the gasket [A] on the tank cap for any
  Visually

    Replace the tank cap if gasket is damaged.
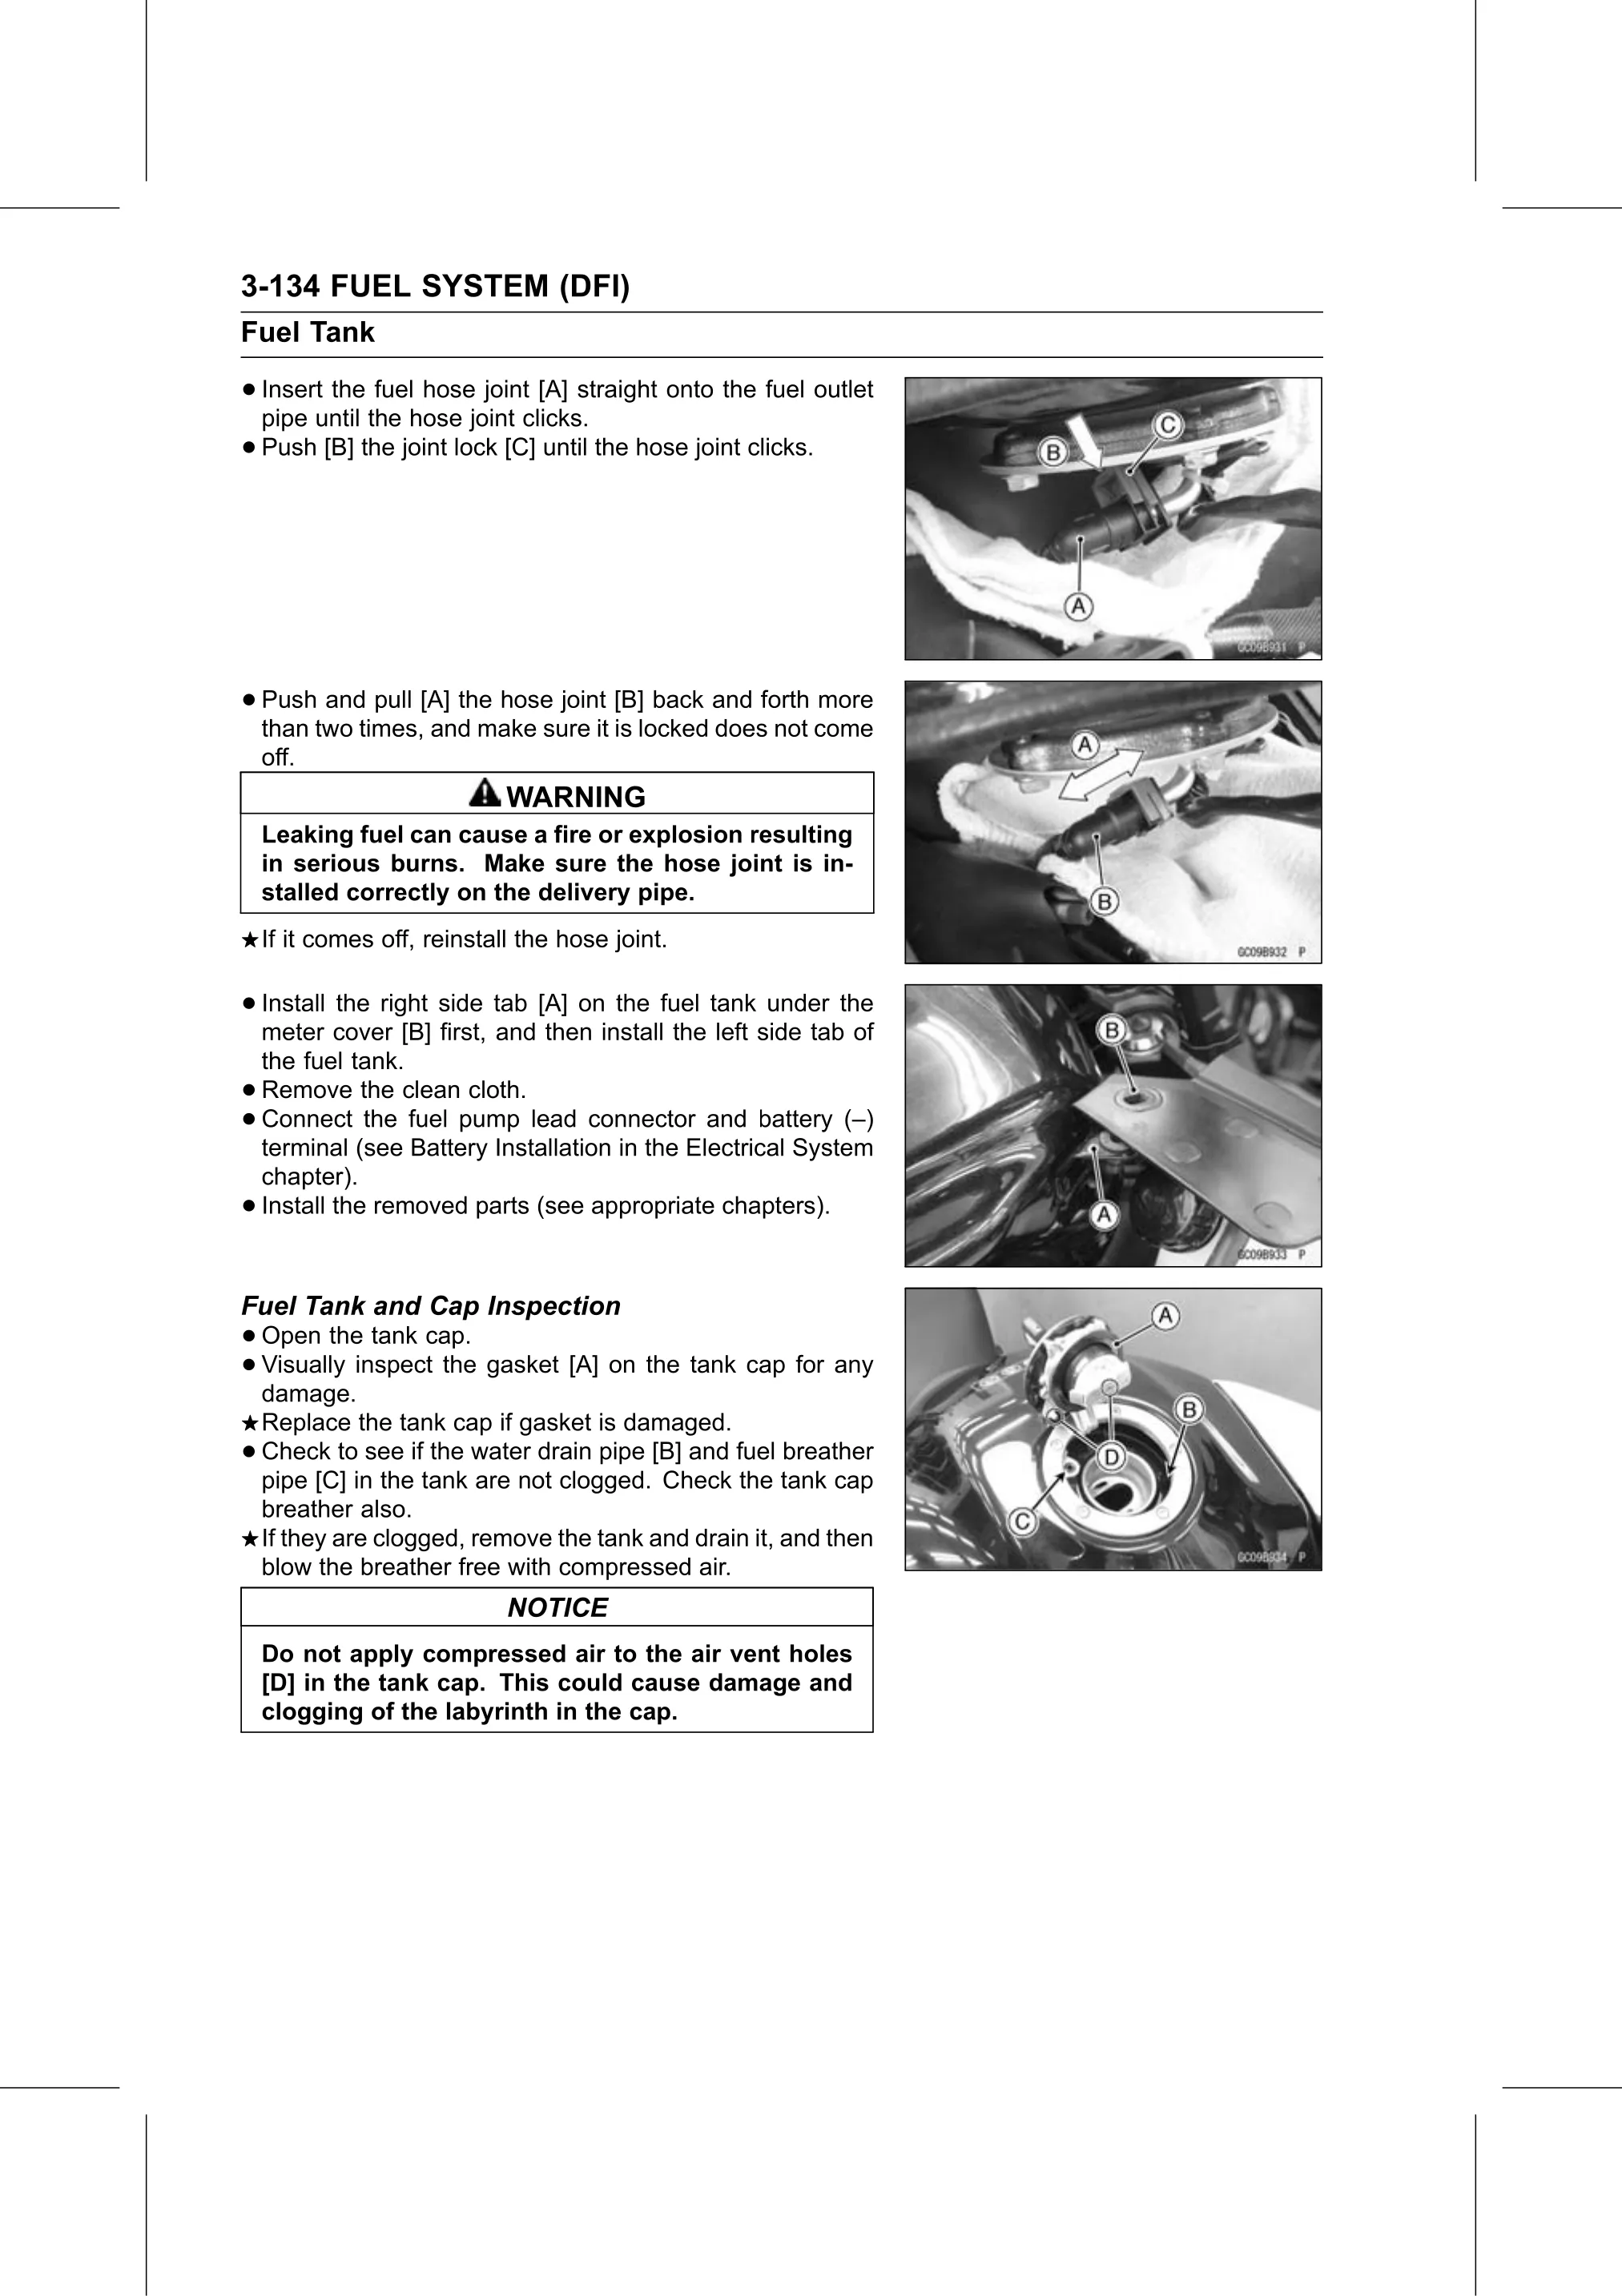
•   Check to see if the water drain pipe [B] and fuel breather
    pipe [C] in the tank are not clogged. Check the tank cap
    breather also.
    If they are clogged, remove the tank and drain it, and then
    blow the breather free with compressed air.
                             NOTICE
    Do not apply compressed air to the air vent holes
    [D] in the tank cap. This could cause damage and
    clogging of the labyrinth in the cap.