Service Manual — page 235 of 715
Cooling System › Pressure Testing
Text on this page
COOLING SYSTEM 4-9
Coolant

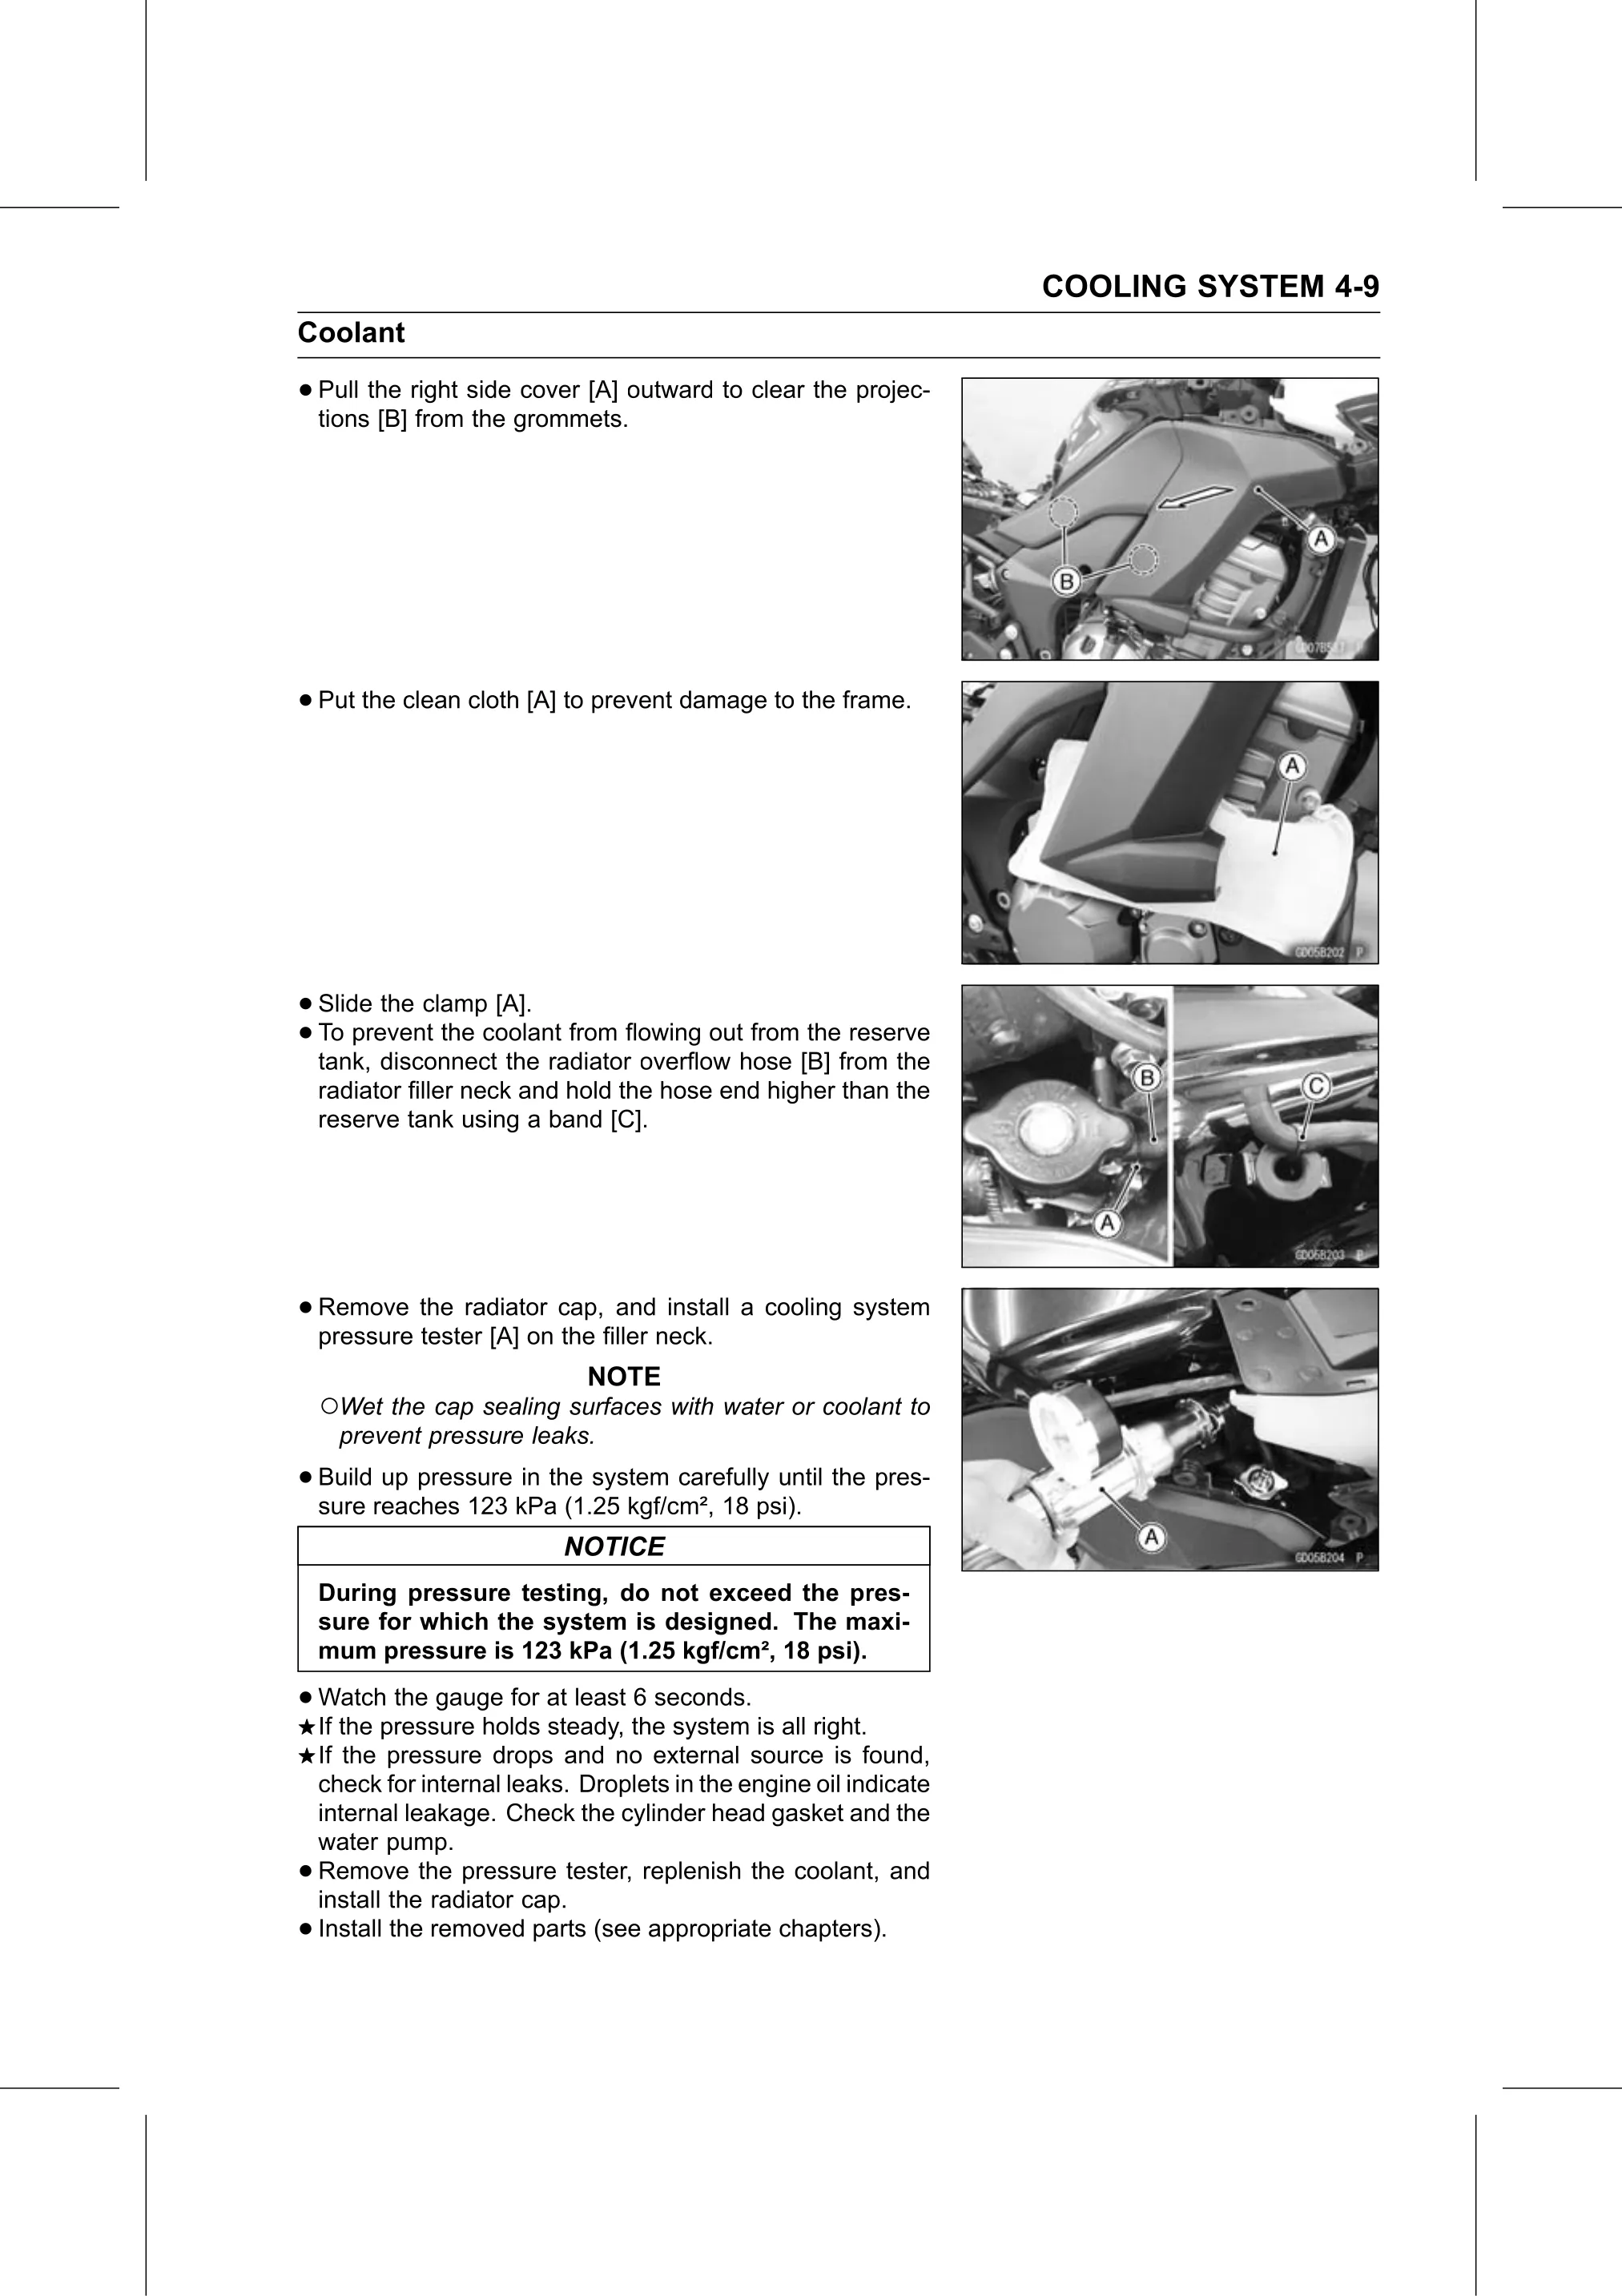
• Pull the right side cover [A] outward to clear the projec-
  tions [B] from the grommets.

• Put the clean cloth [A] to prevent damage to the frame.

• Slide the clamp [A].
• tank, disconnect
  To prevent  the coolant from flowing out from the reserve
                    the radiator overflow hose [B] from the
    radiator filler neck and hold the hose end higher than the
    reserve tank using a band [C].

• Remove   the radiator cap, and install a cooling system
  pressure tester [A] on the filler neck.
                              NOTE
    ○Wet the cap sealing surfaces with water or coolant to
     prevent pressure leaks.

• Build up pressure in the system carefully until the pres-
  sure reaches 123 kPa (1.25 kgf/cm², 18 psi).
                            NOTICE
    During pressure testing, do not exceed the pres-
    sure for which the system is designed. The maxi-
    mum pressure is 123 kPa (1.25 kgf/cm², 18 psi).

• Watch   the gauge for at least 6 seconds.
  If the pressure holds steady, the system is all right.
    If the pressure drops and no external source is found,
    check for internal leaks. Droplets in the engine oil indicate
    internal leakage. Check the cylinder head gasket and the
    water pump.
•   Remove the pressure tester, replenish the coolant, and
    install the radiator cap.
•   Install the removed parts (see appropriate chapters).