Service Manual — page 357 of 715
Crankshaft/Transmission › Crankcase Assembly
Text on this page
CRANKSHAFT/TRANSMISSION 9-11
Crankcase Splitting
Crankcase Assembly
                            NOTICE
    The upper and lower crankcase halves are ma-
    chined at the factory in the assembled state, so the
    crankcase halves must be replaced as a set.

• With a high flash-point solvent, clean off the mating sur-
  faces of the crankcase halves and wipe dry.
• Using compressed air, blow out the oil passages in the
  crankcase halves.

• Using a high flash-point solvent, clean off any oil or dirt
  that may be on the liquid gasket coating area. Dry them
    with a clean cloth.
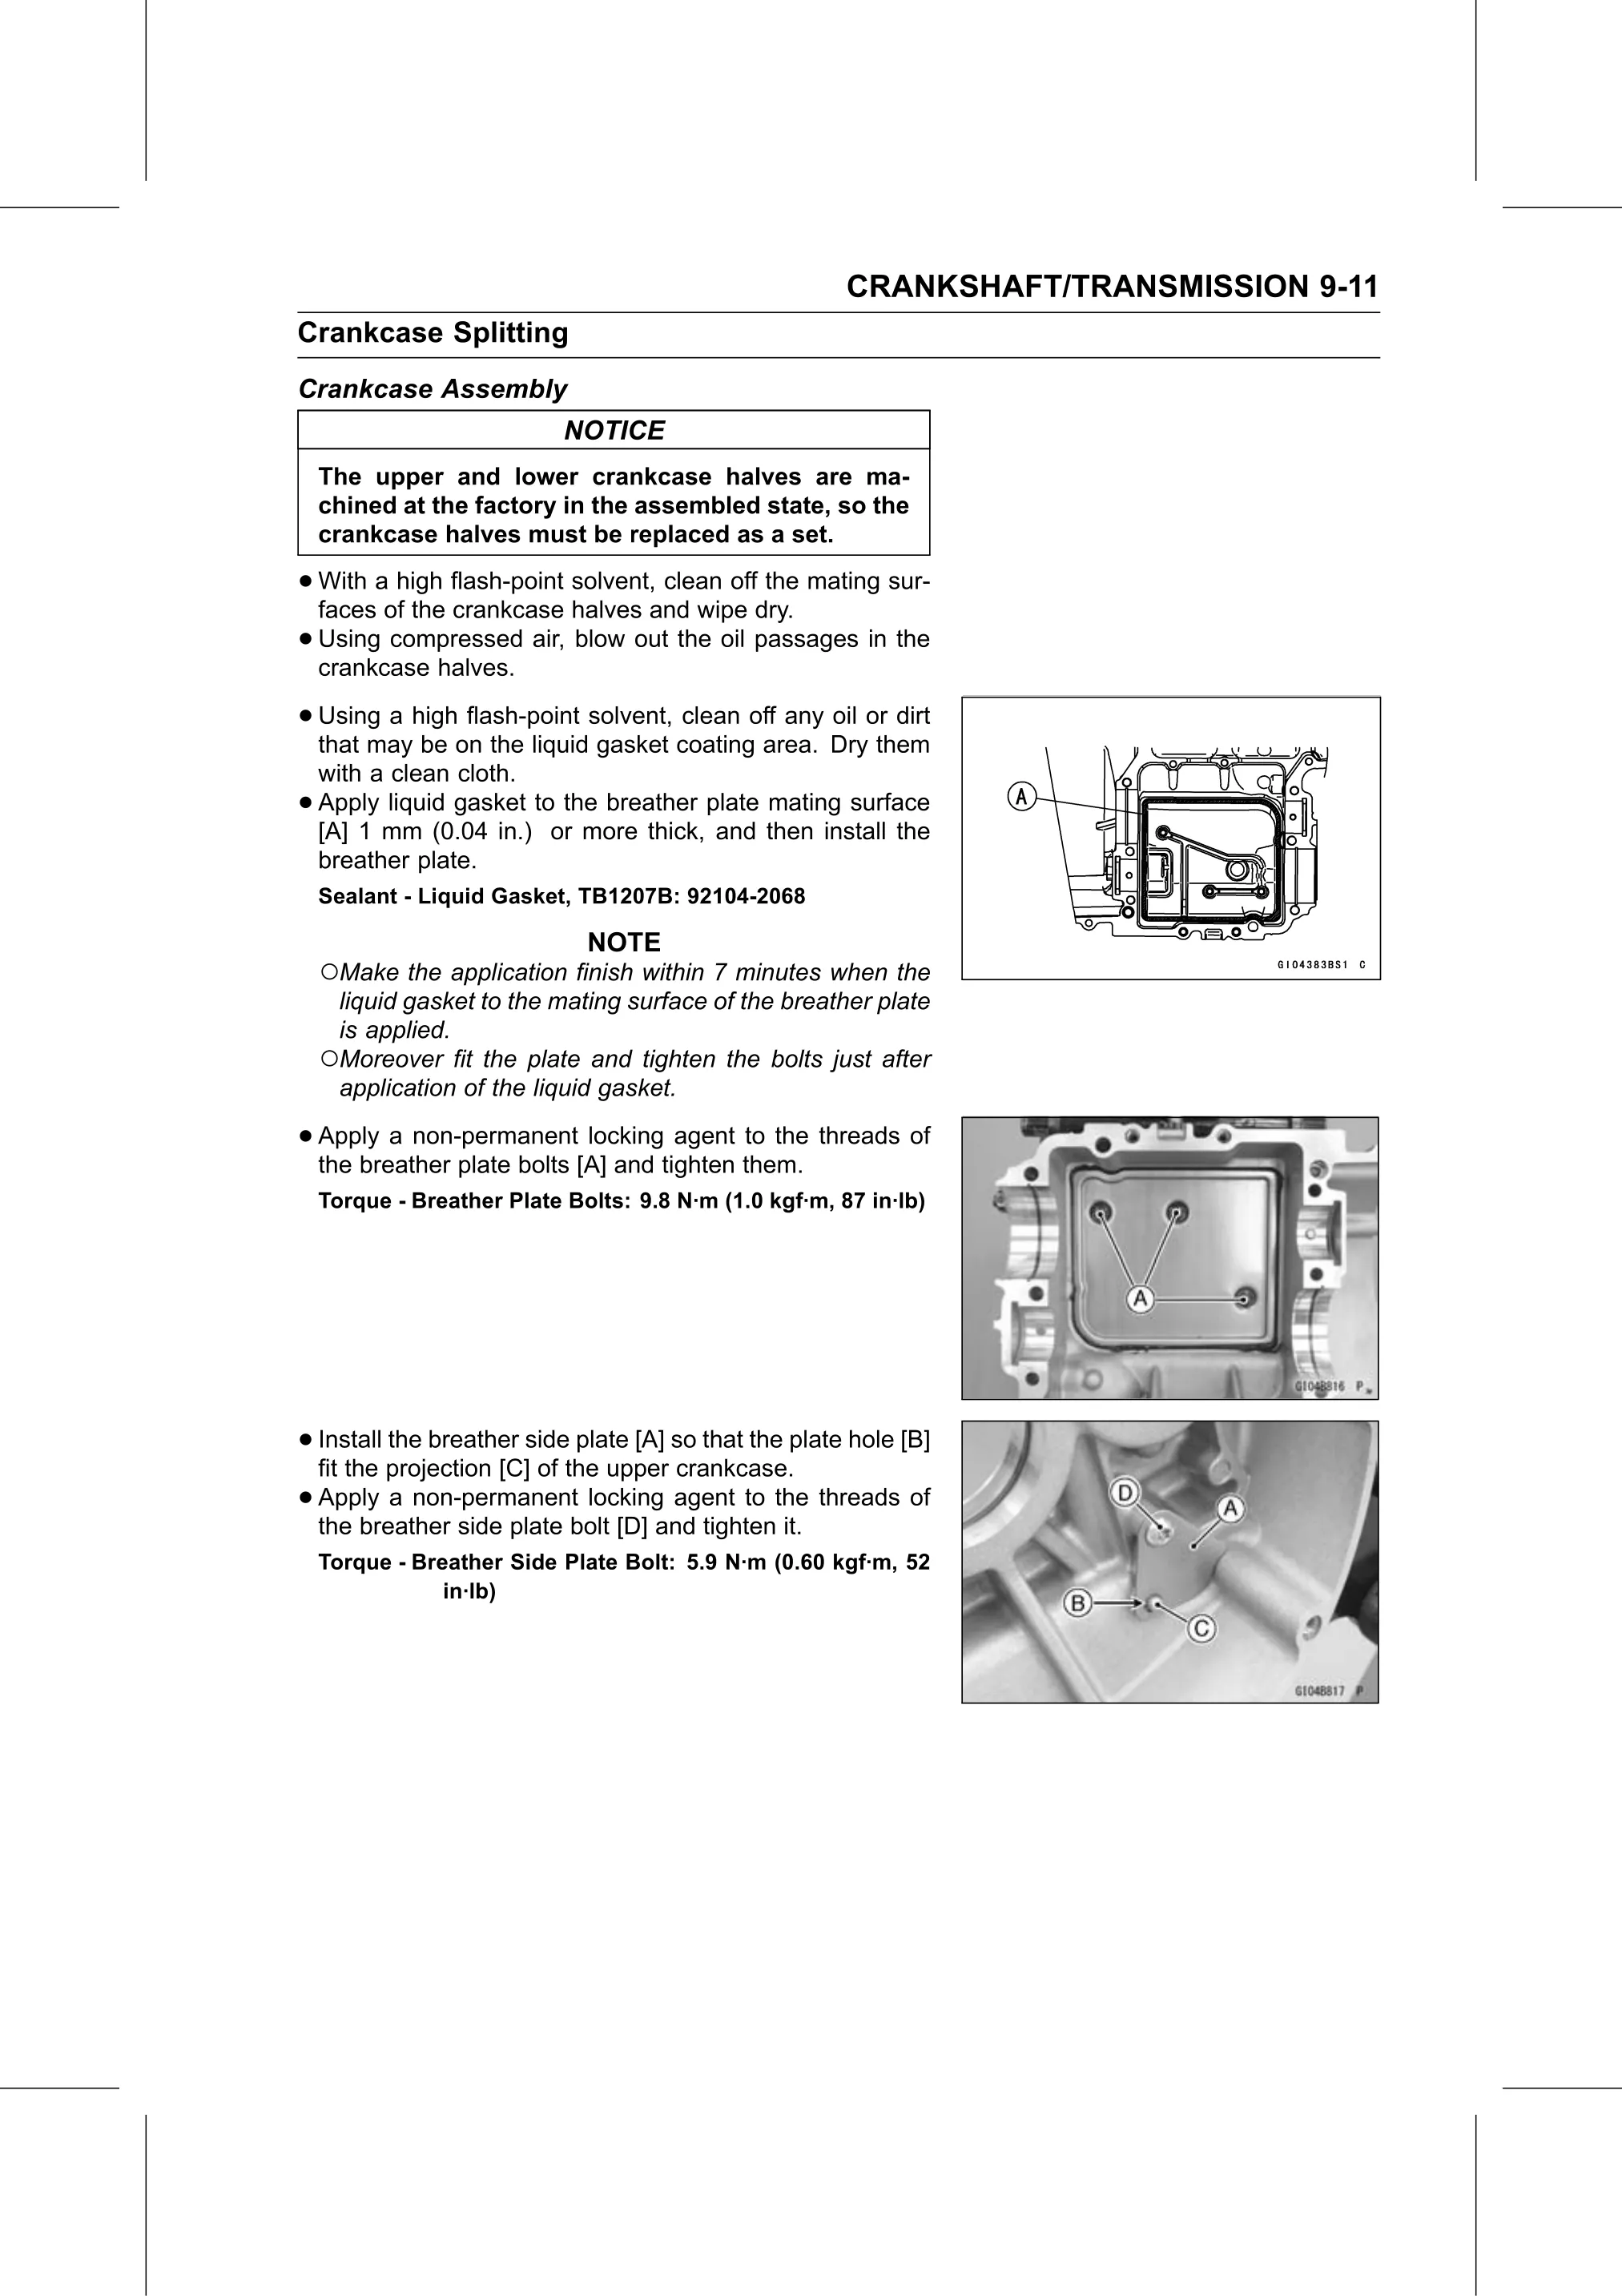
•   Apply liquid gasket to the breather plate mating surface
    [A] 1 mm (0.04 in.) or more thick, and then install the
    breather plate.
    Sealant - Liquid Gasket, TB1207B: 92104-2068

                              NOTE
    ○Make the application finish within 7 minutes when the
     liquid gasket to the mating surface of the breather plate
     is applied.
    ○Moreover fit the plate and tighten the bolts just after
     application of the liquid gasket.

• Apply  a non-permanent locking agent to the threads of
  the breather plate bolts [A] and tighten them.
    Torque - Breather Plate Bolts: 9.8 N·m (1.0 kgf·m, 87 in·lb)

• Install the breather side plate [A] so that the plate hole [B]
  fit the projection [C] of the upper crankcase.
• Apply   a non-permanent locking agent to the threads of
  the breather side plate bolt [D] and tighten it.
    Torque - Breather Side Plate Bolt: 5.9 N·m (0.60 kgf·m, 52
                in·lb)