Service Manual — page 358 of 715
Crankshaft/Transmission › Crankcase Assembly
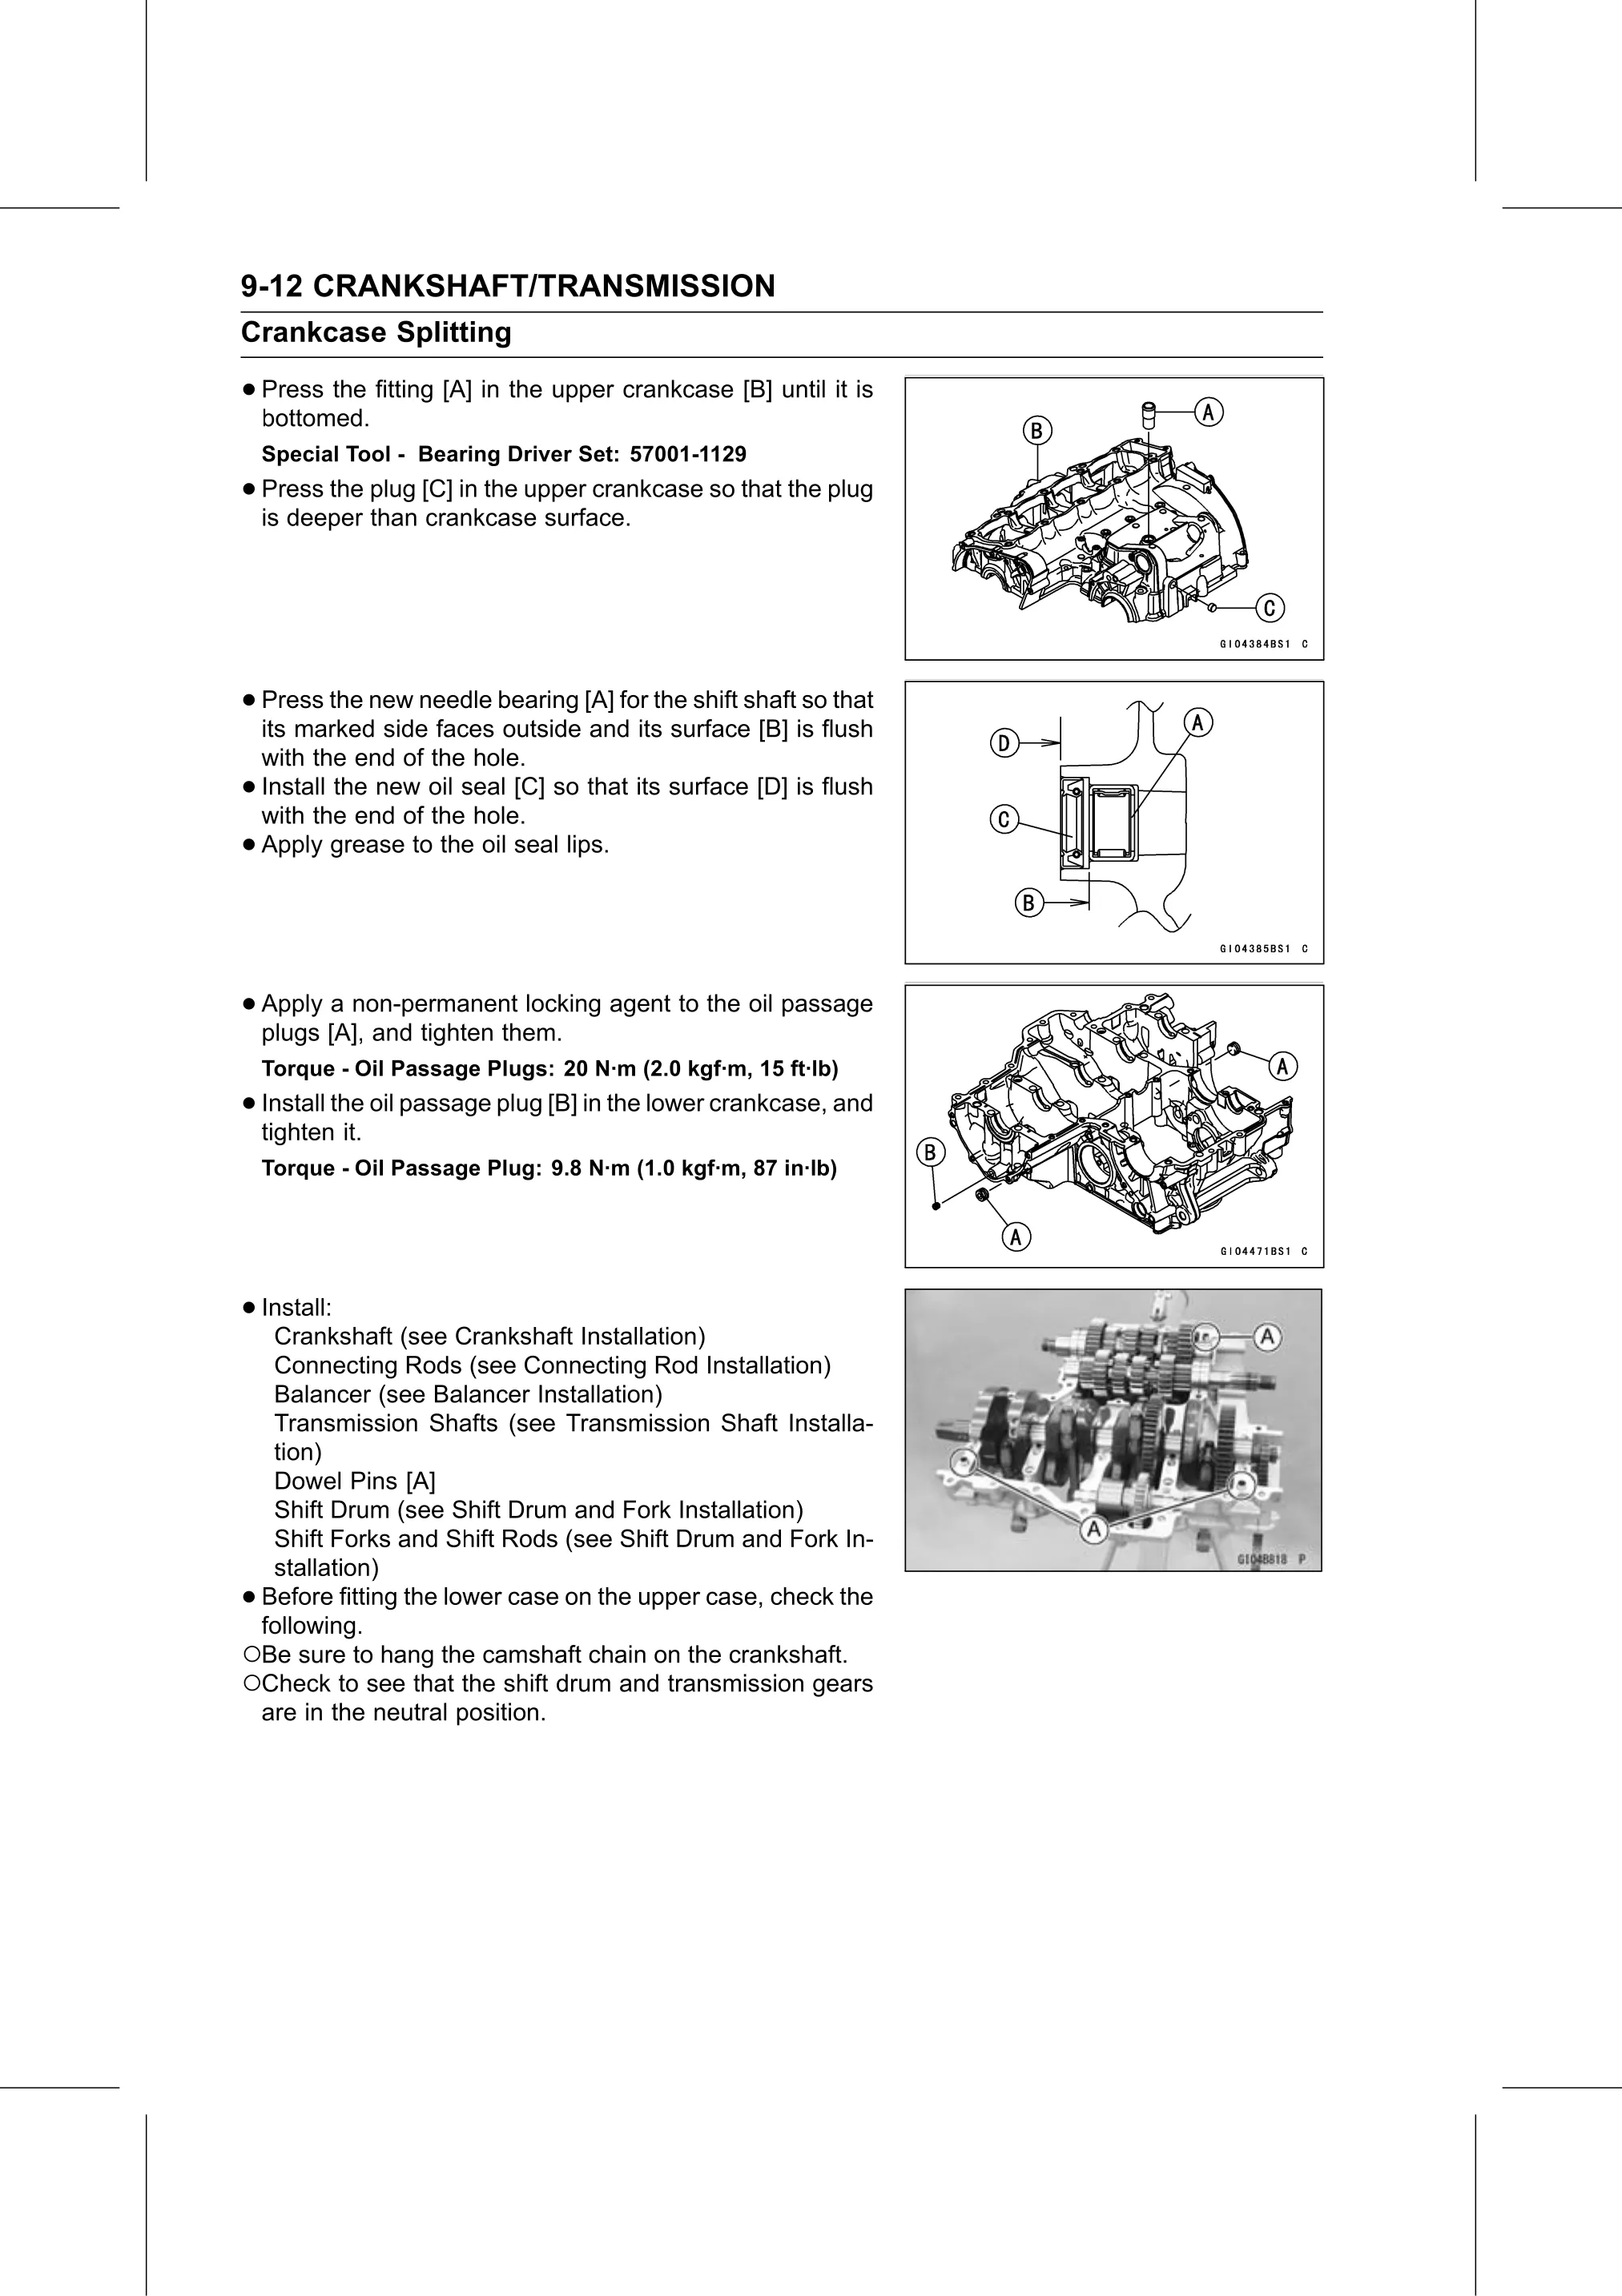
Text on this page
9-12 CRANKSHAFT/TRANSMISSION
Crankcase Splitting

• Press the fitting [A] in the upper crankcase [B] until it is
  bottomed.
    Special Tool - Bearing Driver Set: 57001-1129
• Press the plug [C] in the upper crankcase so that the plug
  is deeper than crankcase surface.

• Press the new needle bearing [A] for the shift shaft so that
  its marked side faces outside and its surface [B] is flush
    with the end of the hole.
•   Install the new oil seal [C] so that its surface [D] is flush
    with the end of the hole.
•   Apply grease to the oil seal lips.

• Apply a non-permanent locking agent to the oil passage
  plugs [A], and tighten them.
    Torque - Oil Passage Plugs: 20 N·m (2.0 kgf·m, 15 ft·lb)
• Install the oil passage plug [B] in the lower crankcase, and
  tighten it.
    Torque - Oil Passage Plug: 9.8 N·m (1.0 kgf·m, 87 in·lb)

• Install:
   Crankshaft (see Crankshaft Installation)
  Connecting Rods (see Connecting Rod Installation)
  Balancer (see Balancer Installation)
  Transmission Shafts (see Transmission Shaft Installa-
  tion)
  Dowel Pins [A]
  Shift Drum (see Shift Drum and Fork Installation)
  Shift Forks and Shift Rods (see Shift Drum and Fork In-
  stallation)
•Before fitting the lower case on the upper case, check the
 following.
○Be sure to hang the camshaft chain on the crankshaft.
○Check to see that the shift drum and transmission gears
 are in the neutral position.